How to Bleed Your Radiator
Bleeding a Radiator at a Glance
- Tools & Materials: Radiator key or screwdriver, rags, small bowl
- Step 1: Turn off heat
- Step 2: Protect surfaces
- Step 3: Open bleed valve
- Step 4: Bleed other radiators
- Step 5: Check boiler pressure
Trapped air within a radiator can dramatically impair its heat output. This is one of the most common heating issues radiators experience. Fortunately, this issue can often be solved by simply bleeding — or releasing trapped air from — the affected radiator.
This May Also Interest You: Is It Safe to Put Things on or Near Your Radiator?
Read on to discover how to identify if your radiator needs to be bled, plus the steps to take to complete the task.
Why Might You Need to Bleed Your Radiator?
Ineffective radiator heating can be caused by a number of issues, including a dysfunctional water heater, low boiler pressure or a leaking radiator. However, there are a few tell-tale signs that trapped air is to blame. These are:
- Rattling or gurgling noises coming from the radiator
- The top of the radiator is cold, but the bottom is warm
- In some cases (but not often), the entire radiator may be cold
If your radiator is demonstrating any of these symptoms, you should bleed it as soon as possible. Additionally, many experts recommend bleeding all the radiators in your home at the start of every heating season to prevent this issue from happening in the first place.
Things You’ll Need:
- Radiator key or screwdriver
- Rags or towels
- Small bowl or cup (optional)
How to Bleed a Radiator
1. Turn Off the Heat
Bleeding the radiator while your system is on can introduce even more air, so turn the heat off and allow the system to cool down completely before starting. You’ll know the radiators are ready to work on when they’re cool to the touch, which usually happens about an hour after shutting off the heat.
2. Lay Down Surface Protection
Lay some rags or towels underneath the radiator on the side that the bleeder valve is on. Doing so will help to protect your floor from any water that may escape from the bleed valve.
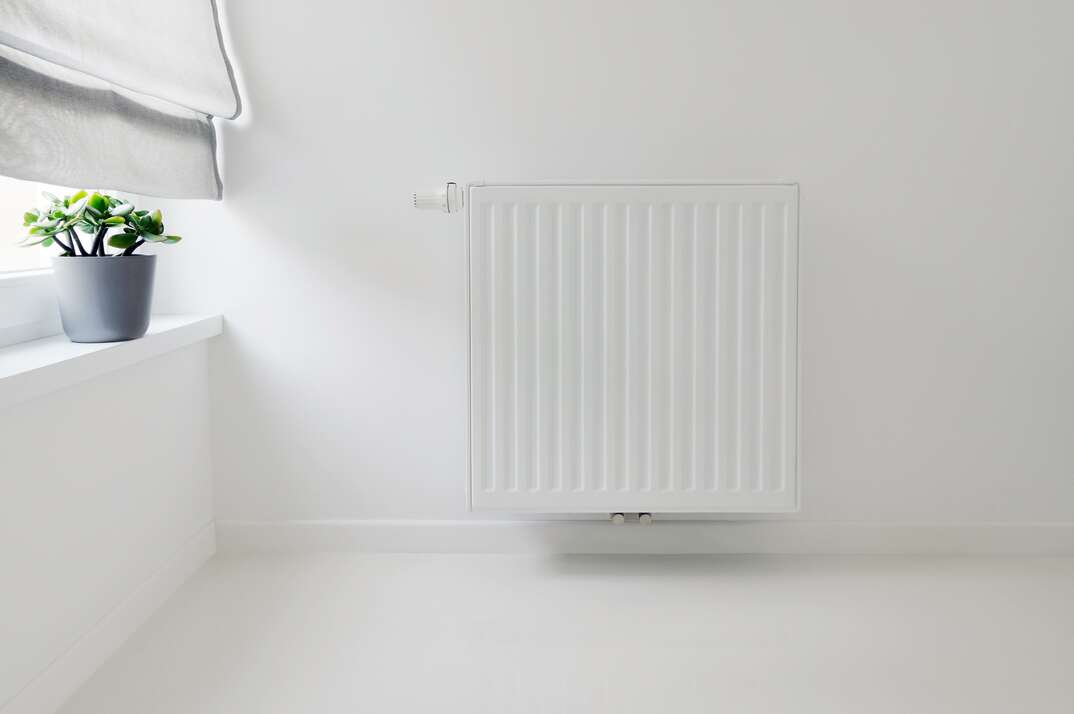
3. Open the Bleed Valve
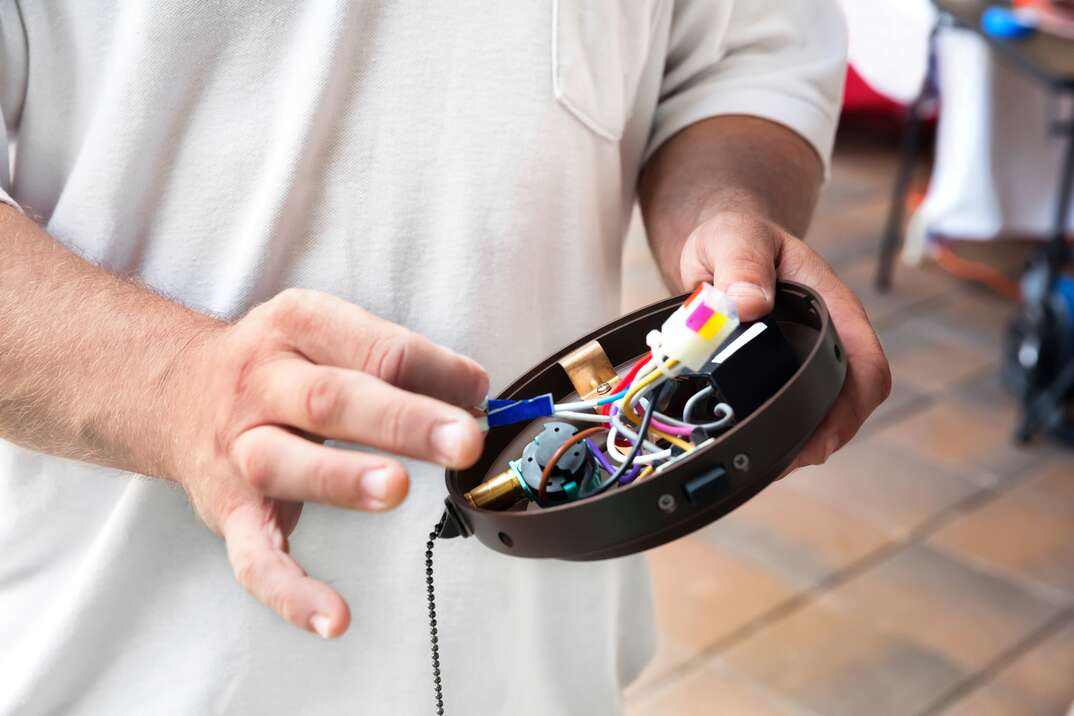
The bleed valve will either be located on the top right or left side of your radiator. Depending on the radiator, the bleed valve will be recessed inside a hole with either a square bit or linear slot in the middle. Older radiators will usually contain a square bit that’s opened with a radiator key, while newer radiators often have a linear slot that’s opened with a screwdriver.
Once you’ve identified the valve, insert the appropriate tool into the slot. Slowly turn the valve counterclockwise until you hear a hissing sound, which indicates that air is being released. Allow air to escape until water starts to squirt out, then close the valve by turning it clockwise until it’s hand tight.
Although you will have surface protection in place, you can also hold a rag or container directly under the valve to catch the water before it hits the floor.
More Related Articles:
- It’s Too Hot in Here! How to Turn Down Your Radiator
- Noisy Radiator: Why Does My Heating System Clang?
- How to Fix a Radiator Leak in 4 Steps
- 4 Signs Your Boiler Needs to be Repaired or Replaced
- How Much Does Boiler Repair Cost?
4. Bleed the Rest of Your Radiators (Optional)
Even if you only have a single radiator that needs to be bled, it’s often recommended to bleed the rest of the radiators in your home to keep them functioning optimally. Doing so should also be done at the beginning of every heating season as part of your central heating system’s routine maintenance.
Simply repeat the above three steps until all your radiators have been bled. If you live in a multi-story home, start at the top floors and work your way down.
5. Check Your Boiler’s Pressure
After bleeding your radiators, check the pressure on your boiler. The air you bled from the radiators may have lowered the boiler pressure, which can lead to further heating problems.
All boilers are either equipped with a digital or analog pressure gauge that’s usually located on the front (most common) or underside (less common) of the unit, and should read between 1 and 1.5 on most residential systems. If your gauge reads below 1, you need to repressurize the boiler — a process also called “topping up.”
Begin by locating the filling loop, which is often a flexible steel hose located underneath the boiler. On either end of the filling loop, there will either be one or two black tabs (valves). Turn on the filling loop by turning the tabs until they’re parallel with the pipe. You should begin to hear water moving through the system. Monitor your pressure gauge, and turn the valves off (perpendicular with the line) once the pressure reaches 1.5.
Once you’ve topped up your boiler’s pressure, you can turn the system back on and enjoy the radiant warmth of your freshly bled radiators.