How to Install a Window Air Conditioner: Your No-Sweat Step-by-Step Guide
When the summer heat hits, a well-functioning air conditioner can feel like nothing short of a modern miracle. But not all of us have whole-house AC systems to keep us cool when temperatures rise.
This May Also Interest You: How to Insulate a Wall or Window AC Unit for Winter
Luckily, window AC units are more affordable alternatives that can help keep individual rooms cool if you’re renting or don’t have it in your budget to invest in central AC. And unlike larger systems, a window air conditioning install is a straightforward and relatively simple DIY project that most folks can tackle themselves with tools they already have on hand.
With a few short steps, you can kick those high temps to the curb and start cooling down — in as little as two hours’ time.
Things You’ll Need
- Power drill
- Measuring tape
- Scissors
- Screwdriver
Step-by-Step Window Unit Installation Guide
Step 1: Prepare the Window
The first step in an air conditioning install is to inspect your window and make sure it is sturdy enough to support the weight of the unit. You’ll want to check for any rot, cracks or splits, particularly along the sill, along with any other ways the window could be compromised. If the window is in need of any repairs, go ahead and take care of those before beginning your installation. The last thing you want is for your AC unit to be installed in a way that is unstable and dangerous due to a damaged window or frame.
Step 2: Install the Support Bracket
If a window AC unit has been properly installed, it should sit securely in the window without a support bracket. That said, support brackets can offer some extra security as they help take some of the weight off the window sill and reduce the risk of damage from a heavy or insecure unit. Extra-heavy units (like those that weigh more than 100 pounds) should always be installed with a support bracket, and some areas, like New York City, mandate the use of air conditioner brackets for all window units, no matter their weight.
If you do decide to install a support bracket, that’ll be your next step. Some brackets use a hardware-free method of installation and can be removed with ease for storage in the colder months. Others are affixed to the window frame in a more permanent fashion, so consider what type is the best fit for your situation prior to purchasing.
Step 3: Attach the Side Panels
Side panels are important because they work to keep the cold air in and the warm air out by filling the gaps between the unit and your window frame. These adjustable accordion panels can be extended to the appropriate width between your air conditioning unit and window frame and then secured with screws. They usually slide into tracks on your window unit and don't require any tools to achieve proper installation.
More Related Articles:
- What Happens If You Leave Your Window AC Unit in All Winter?
- Hot or Cold in Your Household? Split the Difference With a Mini Split Air Conditioner
- Keep Cool With Our Top 5 Picks for Window AC Units
- New to BTUs? Here’s What to Know About BTUs When Shopping for an Air Conditioner
- How to Clean a Window AC Unit: A Step-by-Step Guide
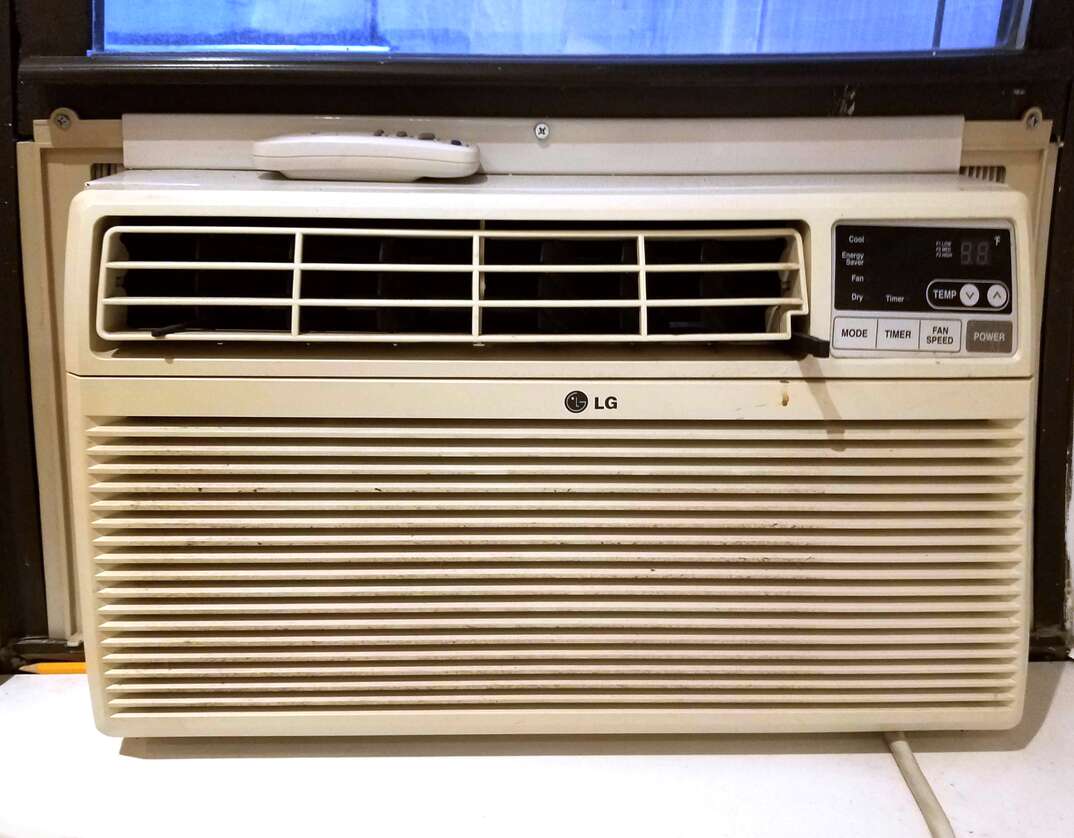
Step 4: Secure the Unit
Most window AC units aren’t light. Although some can weigh as little as 35 pounds, others can weigh upwards of 130 pounds, so you’ll want to have a helper handy when it’s time to lift the unit into position. Once you have your assistant ready to help with lifting, go ahead and set the ac unit onto the window frame. Then you can pull down the upper window sash to the top of the unit to help secure and steady it a bit while you proceed with the next steps.
Each unit will come with its own specific set of instructions for attaching the unit to the window, but for the most part, these steps will include using screws to attach the unit to both the window’s upper sash and the sill using brackets that will prevent the upper part of the window from opening and keep the unit sitting securely on the sill. Using a power drill to drill pilot holes for your screws will help prevent the window frame from splitting. You can then use your screwdriver to manually tighten the brackets as needed.
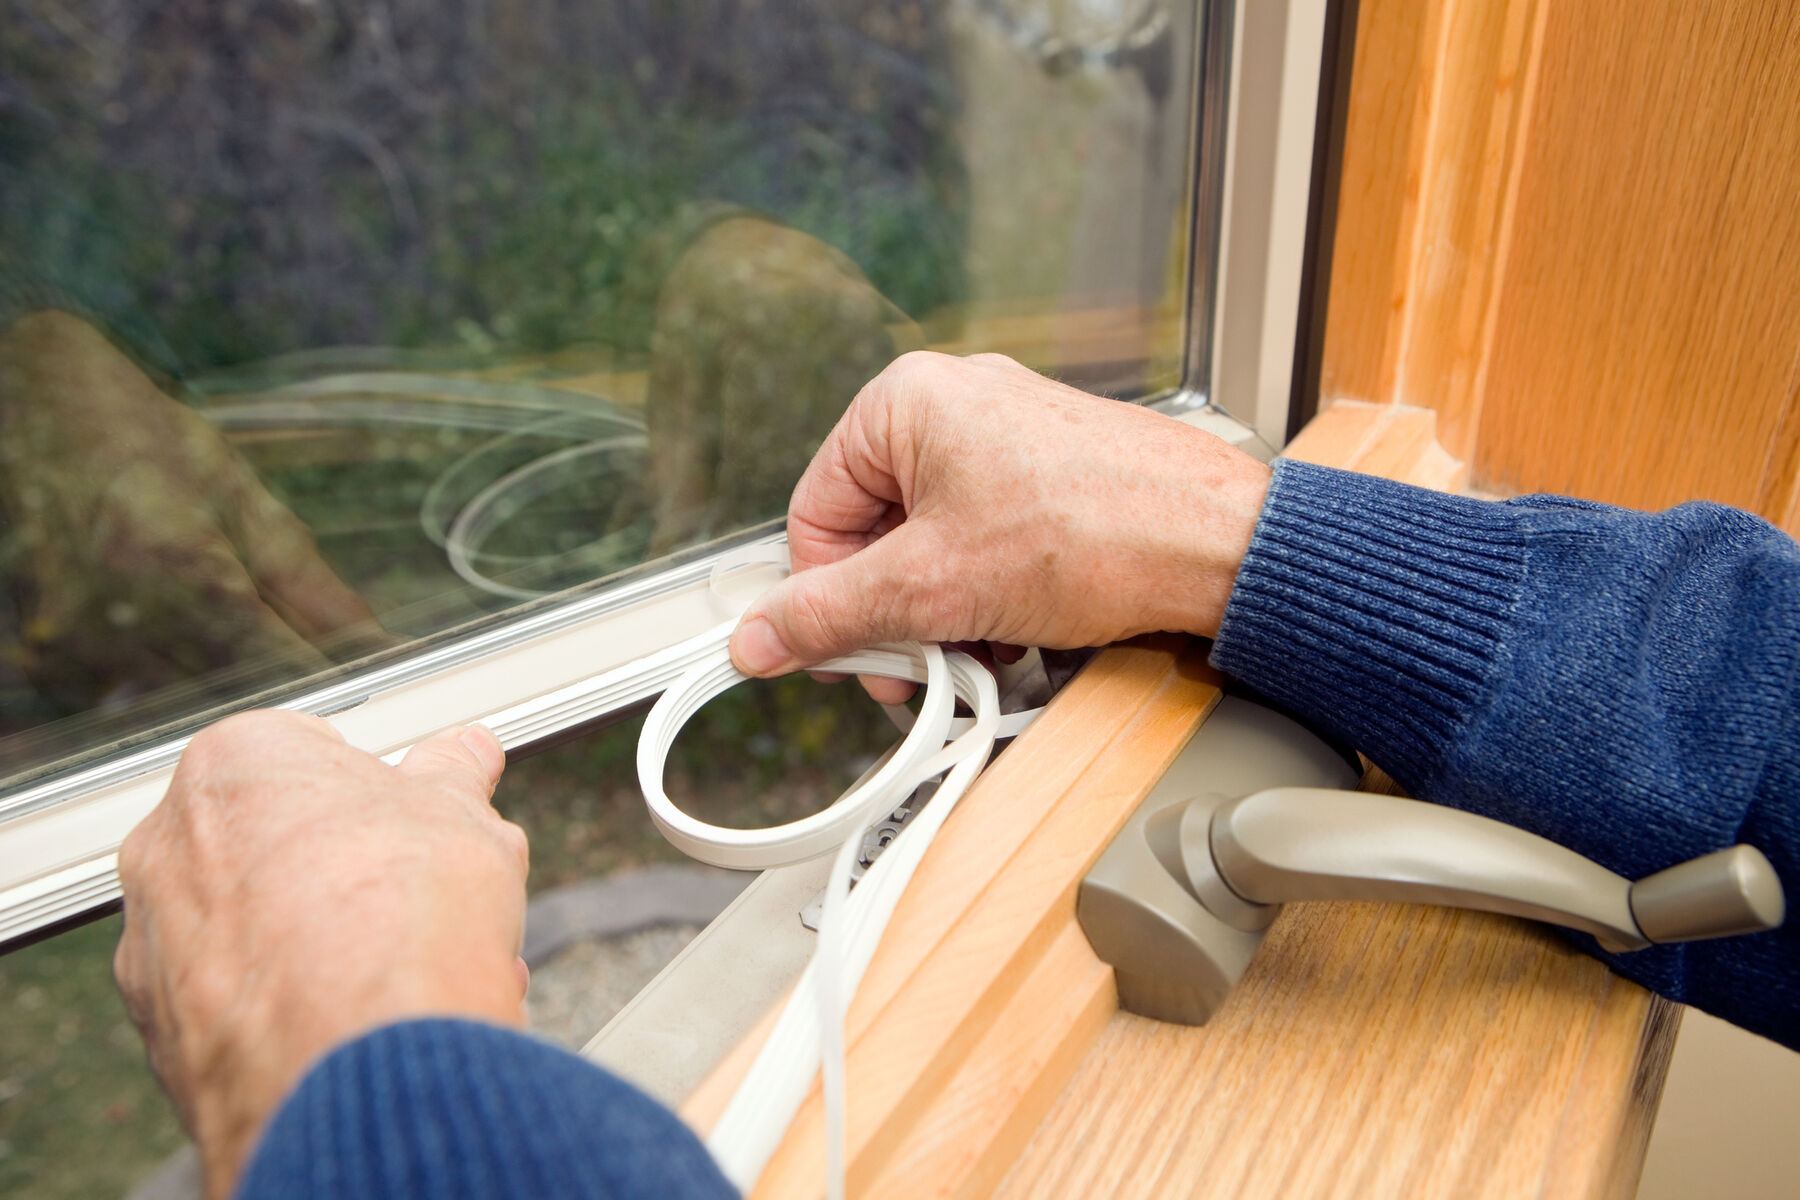
Step 5: Fill in the Gaps
Many window AC installation kits will provide you with some adhesive foam strips for extra insulation around the sides of your unit. Once you’ve secured the unit in the window and expanded and secured the side panels, you can cut these foam strips to size and use them to cover any remaining gaps along the window sashes where air may slip through. Tape can also be used above and below the unit as needed. If your kit didn’t come with insulation tape, but you’re noticing some areas that don’t seem airtight, you’ll probably want to purchase some of this foam tape yourself to add additional coverage.
Easy Breezy
Although an AC install may sound daunting, the truth is that window air conditioner installation is a beginner DIY project that most anyone can tackle — so long as they have an extra hand to help with the lifting part of the process. Window air conditioner installation can be completed in a few short hours, yet keep you cool all summer long. If central AC isn’t an option for you, installing a window AC unit may be the next best thing. With just an hour or two of your time and using tools you likely already have at home, you can embark on a window AC install with confidence and ease.