How to Clean Your Dryer Vent
Cleaning your dryer vent is certainly not one of the most glamorous of home improvement projects, but it is an important one.
This May Also Interest You: Here’s Why Your Clothes Dryer Is Making Noise
Luckily, you can get it done yourself in under 30 minutes, and get back to the juicier projects — like working on that man cave or she shed!
Why Is It Important to Clean Your Dryer Vent?
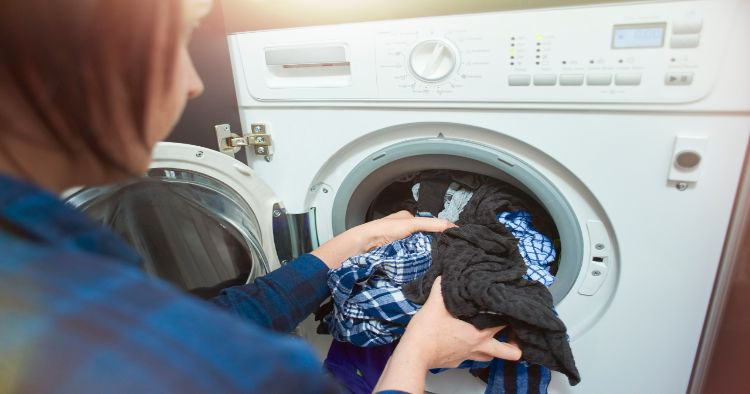
You are no doubt familiar with the lint screen that all dryers have. This is the mesh material that slides out from somewhere on the dryer and collects all of the fine fuzz that flies off your clothes as they are tumbling in all that hot air. While the lint screen does a good job, it's not perfect, and it simply doesn't catch all of the particles that are shed from your clothes during the drying process. The particles it doesn't catch are expelled, along with extra heat, through your dryer vent. Eventually, this lint in the vent can build up and reduce your dryer's performance at the very least – and at the very worst, it can even lead to a fire.
How to Know When to Clean Your Dryer Vent
Generally, you should give your dryer vent a good cleaning at least twice a year. It might be helpful to link the project to another regular maintenance task like changing your HVAC air filters or checking your smoke detectors during those times of the year when we push our clocks forward or set them back.
But there are other signs that might warrant a cleaning sooner:
- Your clothes aren’t drying in the same amount of time as they used to.
- Your clothes are getting much hotter than normal.
- There’s more humidity in your laundry room (which would mean the vent is so clogged that the exhaust is escaping into the house).
- There’s a burning smell when running the machine.
- Your dryer gets very hot while it’s running.
- The lint filter seems to be collecting more debris than usual.
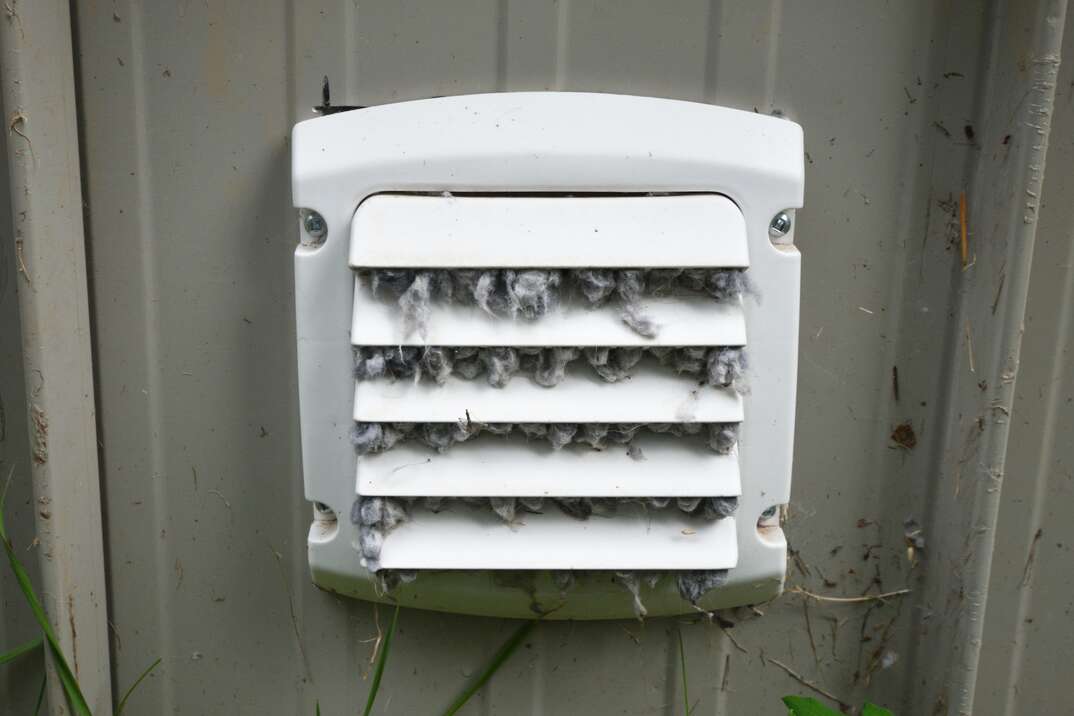
If you notice any of these issues, taking a look at the dryer vent is well warranted. One easy way to find out if your vent is functioning properly may be to find the outlet on the outside of your home. Sometimes these outlets are simply right on the other side of the wall from the dryer, but other times they may take more Byzantine paths and might not be easy to find. If yours is findable, though, you should feel a steady stream of hot air escaping when the dryer runs. If you don't, the culprit is more than likely a clogged vent.
More Related Articles:
- Need to Vent? Here’s How to Install a Dryer Vent
- How Much Does It Cost to Install a Dryer Vent?
- When’s the Last Time You Replaced Your Appliances’ Hoses? Here’s How to Change All of Them
- How Much Does a Clothes Dryer Cost?
- Here’s How to Change the Direction the Door Swings on Your Washer and Dryer
How to Clean Your Dryer Vent
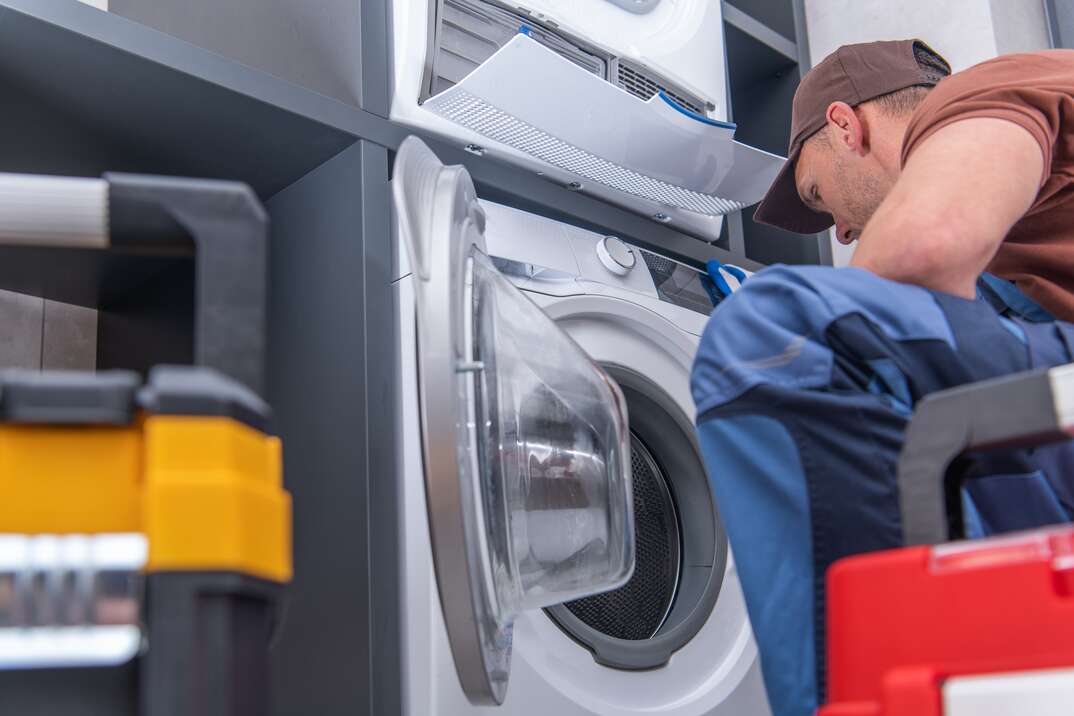
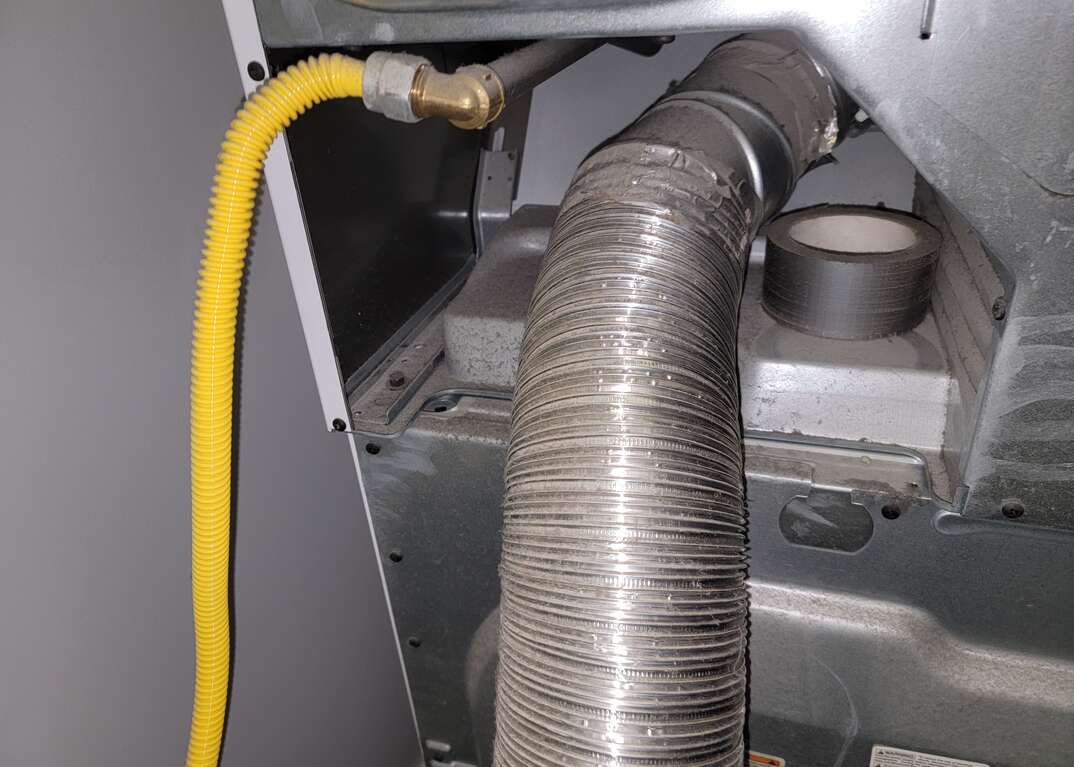
Your first step is to unplug the dryer from the wall. If you have a gas dryer, you'll also want to turn the valve that shuts the gas off. Then, slide the dryer forward so that you have clear access to the back.
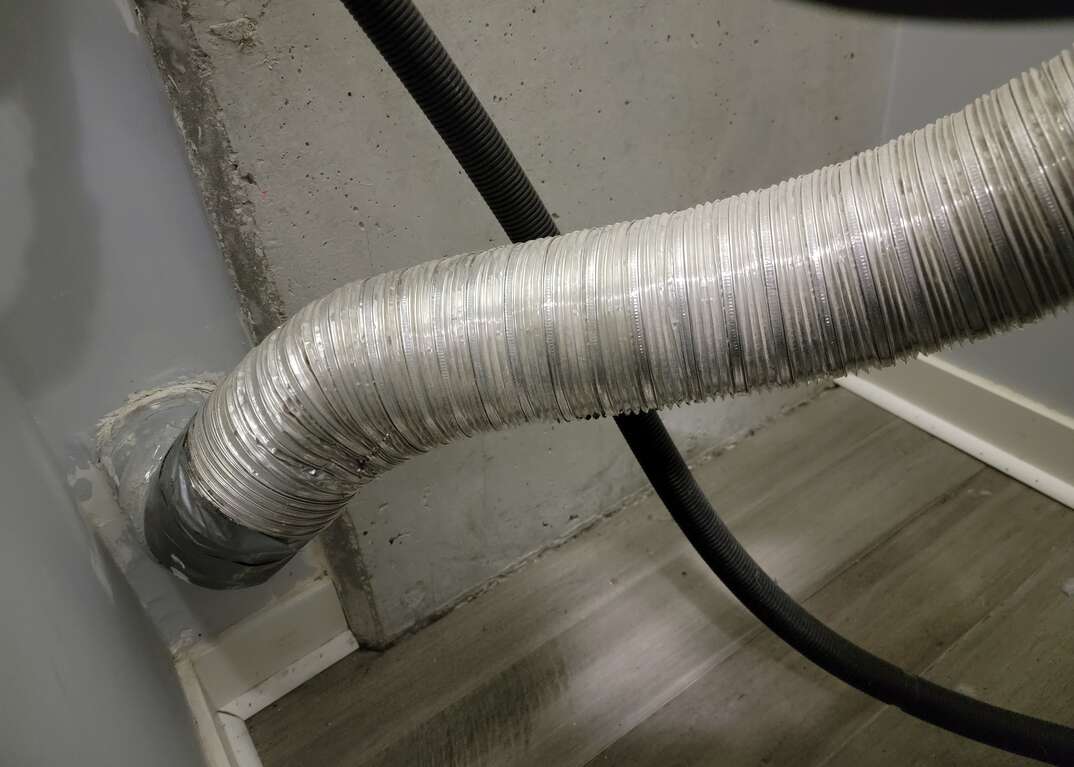
You'll usually find the dryer vent near the bottom of the machine. It typically has a corrugated metal or plastic hose attached to it. Sometimes you can simply wiggle this hose off, but if it's been installed correctly, it should have a hose clamp or other way of securing it to the dryer, so be sure to work carefully to loosen the connection before removing the hose.
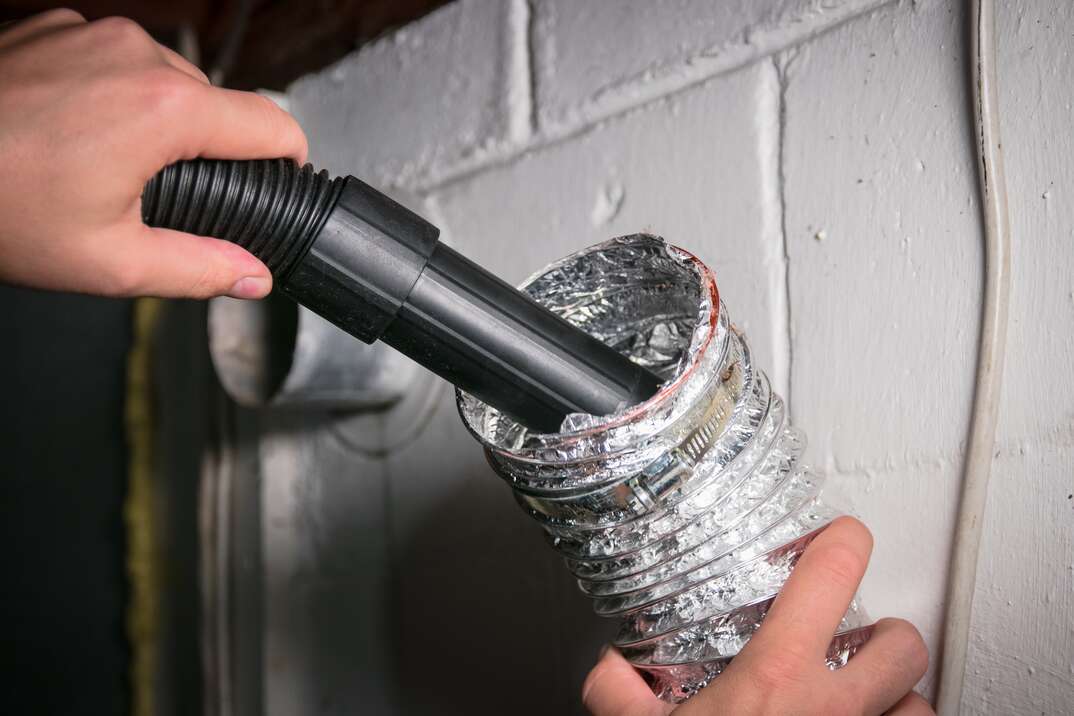
Once the hose is off, use your hands to pull out any large clumps of lint that might be gathered either in the outlet hole on the dryer or just inside the end of the hose. Then, use the wand attachment on your vacuum cleaner to suck out any remaining dust or debris from the hose and exhaust hole.
If your dryer vent hose isn't very long, you might be able to do all the cleaning you need with your vacuum. If not, you'll likely want to get a dryer clean-out kit. These are widely available, and typically don't cost more than $20 or $30 (CAD 25 or CAD 40) for a decent setup. The kits consist of a brush and flexible hose that attaches to a power drill. The drill turns the brush, which you work back and forth inside the hose to loosen any debris and pull it towards you into the laundry area.
If you are able to easily access the outside of your dryer vent, you could be extra thorough by removing the louvered cover and running the brush through the hose from this direction as well.
Clean Up
You'll want to keep your vacuum nearby because you will no doubt release a lot of dust, lint and other debris during this process. After sucking it all up with your vacuum, be sure to empty the dust cup (preferably in a trash can outside) so that you don't risk damaging one appliance in service of another.
Then simply reattach the hose to the back of the dryer, secure any clamps or clips, slide the appliance back into place, turn on the gas valve (if applicable) and plug the machine back in. You'll then be on your way to enjoying at least another six months of worry-free laundry — especially that unbeatable feeling from putting on that just-dried sweatshirt on a cold fall day!